My brother in law Rob paints very slowly. So slow, in fact, that he has never completely finished a single mini...ever. Hes got a squad of "boring" necrons that are painted but need bases and a retail great unclean one that needs paint on the sword and a base. Last year at Games day I grabbed this big boy for him. He immediately quit the project he was almost finished and started on this.
He will come over for paint nights and talk, have fun, and paint about an inch on this thing. We keep telling him if he ever finished something he could be a contender for a golden demon but I'll let the pictures do the talking. My hope is that a little bit of community support will spur him on to greatness! (Or at least get him to paint an extra inch or two next paint night!)
Finally Decided on a Chapter Badge
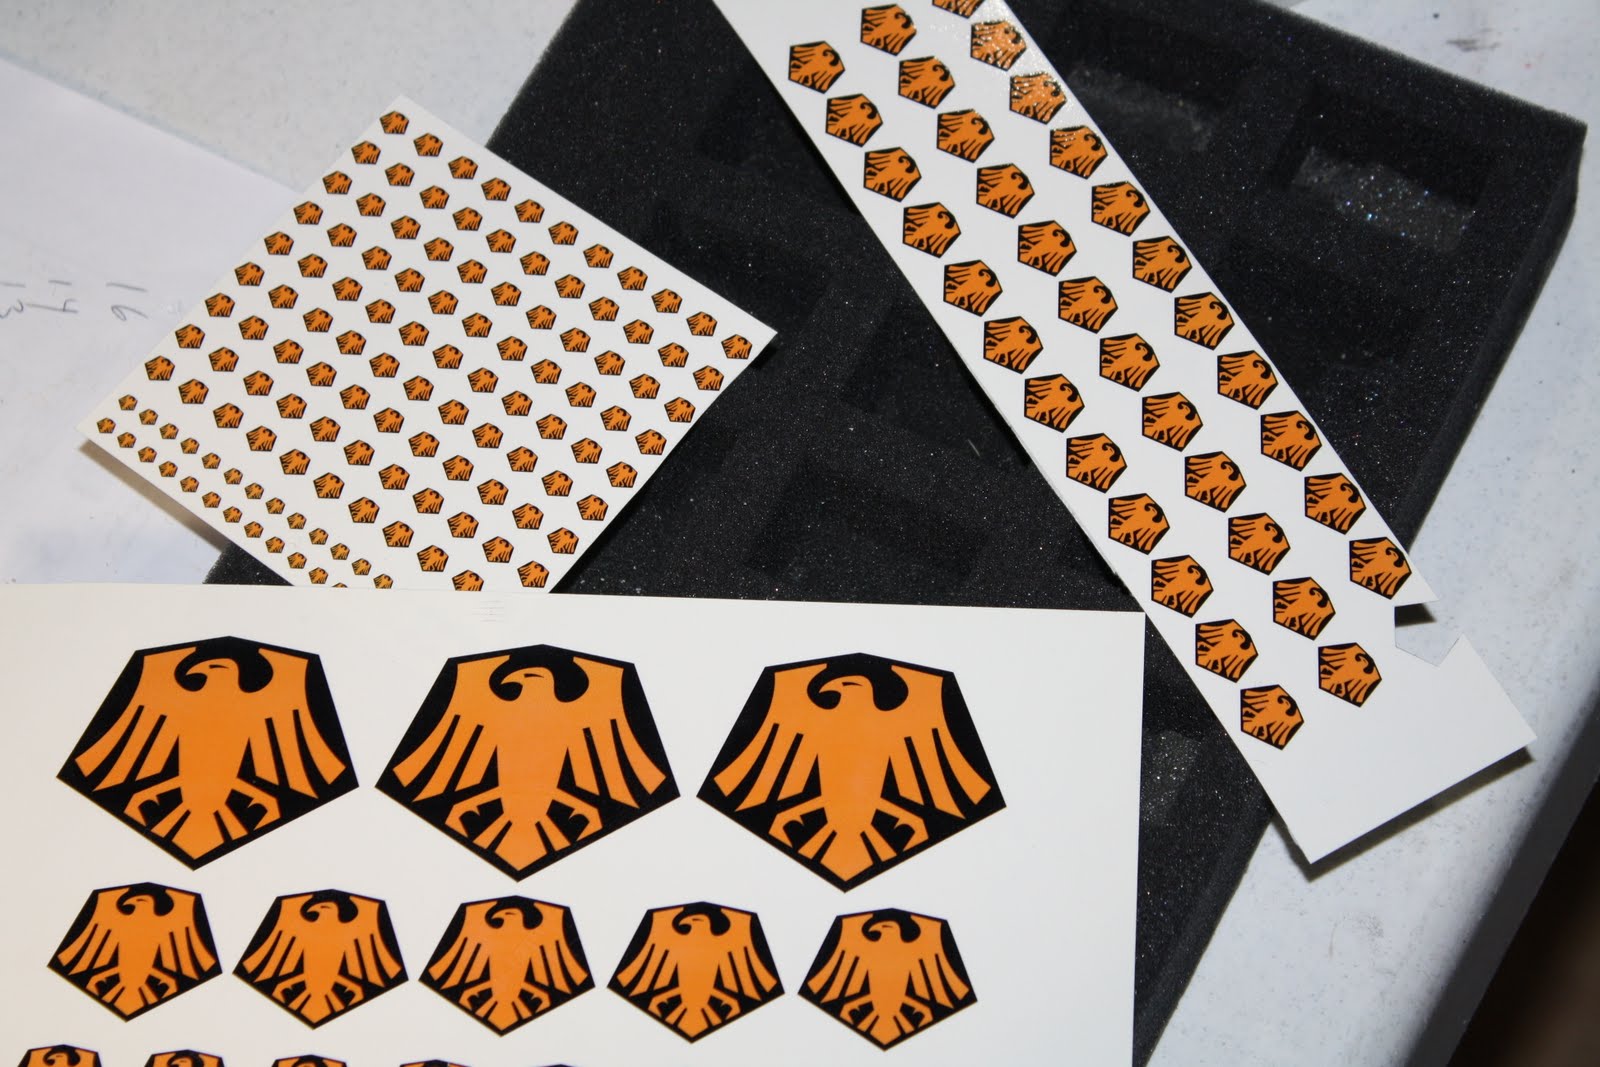
After years of putting it off, I finally decided on the chapter badge for my original space marine army. I've been wanting to get this army "done" for the last few months and move on to bigger and better things so I just went with one of the ideas that seemed to fit the most with my play style and the overall style of marine shoulder pads.
Apparently I've been playing like the Raven Guard ever since the 5th edition codex came out. Dropping dreadnoughts in pods and outflanking with scouts while advancing with assault squads are what I like to do best. Even if they are not the most powerful units in the codex these days the game is about having fun first and foremost so from now on ,the Immortal Knights are officially going to be a Raven Guard successor chapter and sport some spiffy orange birds all around!
The logos I used were found on The Bolter and Chainsword and after a quick recolor in Illustrator were good to go. I had been planning on trying decals for some time and already had all the essentials on hand such as Micro sol and Micro set. It took me a while but i finally found some the of decal paper I bought form the model train shop well over two years ago. After a few test prints I was good to go and thanks to BigRed's excellent tutorial over on BoLS I managed to get that "painted on" look the first time through! I didn't really think the Micro sol would make as much of a difference as it did. From now on I plan to swear by it. My only gripe with it is while applying it I sometimes ruined my decals by bending them and occasionally it seemed to eat away at the decal sealer and splotched the ink as you can see in the picture. It's not a super big deal though as I plan to do a little battle damage here and there any how.
For one of my terrible first models full of mold lines, fuzzy primer and over watered metallic paint it doesn't look half bad in my opinion.
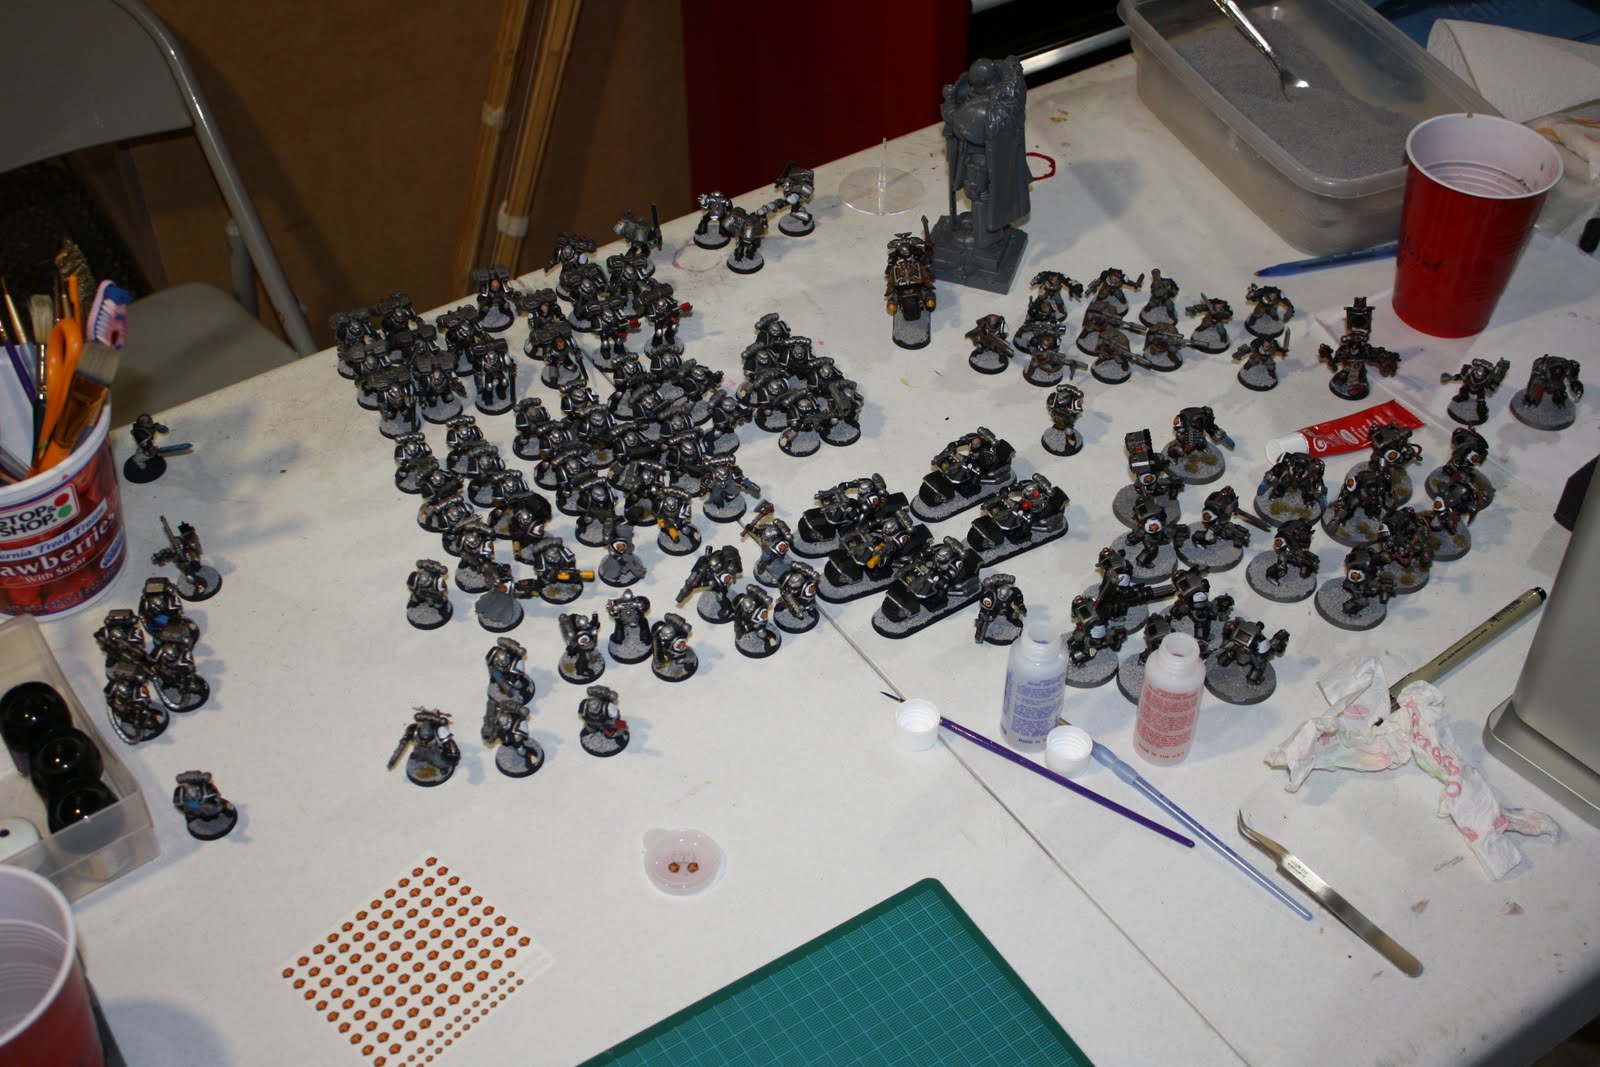
After I made my first decal and tried it on the bottom of a rhino I realized that I would have to put some white underneath for the orange to show up. Last night after the kids bed time I furiously painted white blobs on all my infantry models. I couldn't wait to throw a few on my favorite first turn wonder. And so my nefarious drop pod dreadnought was the first vehicle to get a few decals stuck on. After that I did my bikers, a few tacticals and a few terminators. When my wife came down to bug me about going to bed she actually said my dreadnought looked good! She hates my armies color scheme and has never said anything good about it before so I quite surprised to get some praise out of here for once!
With paint night coming up I'm hoping to get all the decals on and repaint all the area around them in one fell swoop. Then I plan to move on to putting more work into the bases. I'm considering making up a wash mix to throw on the whole army to make it look a little better since washes seem to fix everything. As I come across my first 20 models I'm trying to clean up the fuzzy primer/ too watered down paint jobs too. It shouldn't take too long there are only a hundred and five or so models in total!
Since I painted everything before basing I am looking for a way to get some shading in the recesses of the dirt without too much work involved. I was wondering if maybe a watered down black wash could be sprayed in without too much trouble. If any one has any advice I would appreciate it! The faster I get these guys done the better! I can't wait to paint something besides black and silver!
A Black Reach Chop Shop
Lately I have been running a five man TH/SS assault squad around with an Avenger / Gate of Infinity Librarian. One of my goals during the planetary empires campaign was to try out new things and bring a more "fun to play" list to the table. I know most people will call TH/SS termies anything but fun, but to me they are a relatively new unit and those who know me would most likely say that bashing guys in with a huge melee weapon fits my style just fine. So before the GW price increases and my loss of employment, some of us got together and made a big group order. On the top of my list was what will most likely be my final Black Reach. Ever since getting the Assault Terminator box Ive been wanting to put the spare lightning claws to use. I chopped up most of my brothers black reach nobs to make use of all the weapon upgrades found in the retail nob box and figured that chopping up the space marines couldn't be much harder. A few snips with my clippers and a little glue and I had some hulking go - go gadget monstrosities. After cutting down the arms a bit more I got em just right and was pleasantly surprised that iIhad achieved a more dynamic arm pose than the original kit would have allowed. I made three of the LC termies so I can fill my crusader though I will most likely opt to run only two and put in special characters in power armor.
This bring me to my next new model. After looking at the available chaplain builds I decided that Cassius was my man. I looked him up on the GW site to check the model and immediately started to look for some thing different. The chaplain I ended up with had always caught my eye and was one of those models that I would have always bought if it was on the store rack. After debating whether or not it was worthwhile to cut up a combi - melta form the commander sprue to make his flamer I came across the chaos terminator one. I decided that the older style weapon would be more appropriate on a model representing an ancient warrior. This model also marked my first use of the 005 Micron art pen. This thing works wonders for doing script squigglies. If you don't own one head out to your local craft store and get one today! If you have shaky hand syndrome it makes so many things easier!
Now that all my key players are ready, I'll be hoping to rock my full crusader during the next game I play. Hopefully the Crusader, five TH/SS termies, two LC termies, Cassius and the Avenger / Gate Librarian justify the huge point cost for one super death star unit!
This bring me to my next new model. After looking at the available chaplain builds I decided that Cassius was my man. I looked him up on the GW site to check the model and immediately started to look for some thing different. The chaplain I ended up with had always caught my eye and was one of those models that I would have always bought if it was on the store rack. After debating whether or not it was worthwhile to cut up a combi - melta form the commander sprue to make his flamer I came across the chaos terminator one. I decided that the older style weapon would be more appropriate on a model representing an ancient warrior. This model also marked my first use of the 005 Micron art pen. This thing works wonders for doing script squigglies. If you don't own one head out to your local craft store and get one today! If you have shaky hand syndrome it makes so many things easier!
Now that all my key players are ready, I'll be hoping to rock my full crusader during the next game I play. Hopefully the Crusader, five TH/SS termies, two LC termies, Cassius and the Avenger / Gate Librarian justify the huge point cost for one super death star unit!
Subscribe to:
Posts (Atom)